Getting started
This chapter takes you from nothing to a working door: the program installed, an owner login, a building, a door, the flats, and the poster on the door.
What you need
- A Linux server (Debian or Ubuntu are what the deploy notes assume) with a public address, or an account on the hosted service at doorcom.uk, in which case skip to First login.
- A domain pointed at the server. QR codes and links are built from it.
- Optionally an Access Controller board on the door you want to release. Without one, a door can run in ring-only mode.
Install
Doorcom is one static binary and one SQLite file. Build it with Go 1.26 on any machine, then copy it to the server.
make linux # writes dist/doorcom-linux-amd64On the server, make a user and a data folder, install the binary, the environment file and the systemd unit, then start it:
sudo useradd --system --home /var/lib/doorcom --shell /usr/sbin/nologin doorcom
sudo mkdir -p /var/lib/doorcom && sudo chown doorcom:doorcom /var/lib/doorcom
sudo cp dist/doorcom-linux-amd64 /usr/local/bin/doorcom && sudo chmod 755 /usr/local/bin/doorcom
sudo cp deploy/doorcom.env.example /etc/doorcom.env && sudo chmod 600 /etc/doorcom.env
sudo cp deploy/doorcom.service /etc/systemd/system/doorcom.service
sudo systemctl daemon-reload && sudo systemctl enable --now doorcom
Edit /etc/doorcom.env before the first start. DC_PUBLIC_URL must be the public address (for example https://doorcom.uk); DC_ADDR stays on 127.0.0.1:8090 because Caddy is the only thing that talks to it. Caddy, HTTPS and backups are in Hosting and backups.
The first owner login
There is no sign-up page for the panel. The first login is made from the command line with the same environment the service uses:
sudo -u doorcom env $(cat /etc/doorcom.env | xargs) /usr/local/bin/doorcom create-owner ash 'a long password'Running create-owner again with the same username resets that password. An owner sees every building; managers and staff are added later from Users (see Users, roles and permissions).
First login
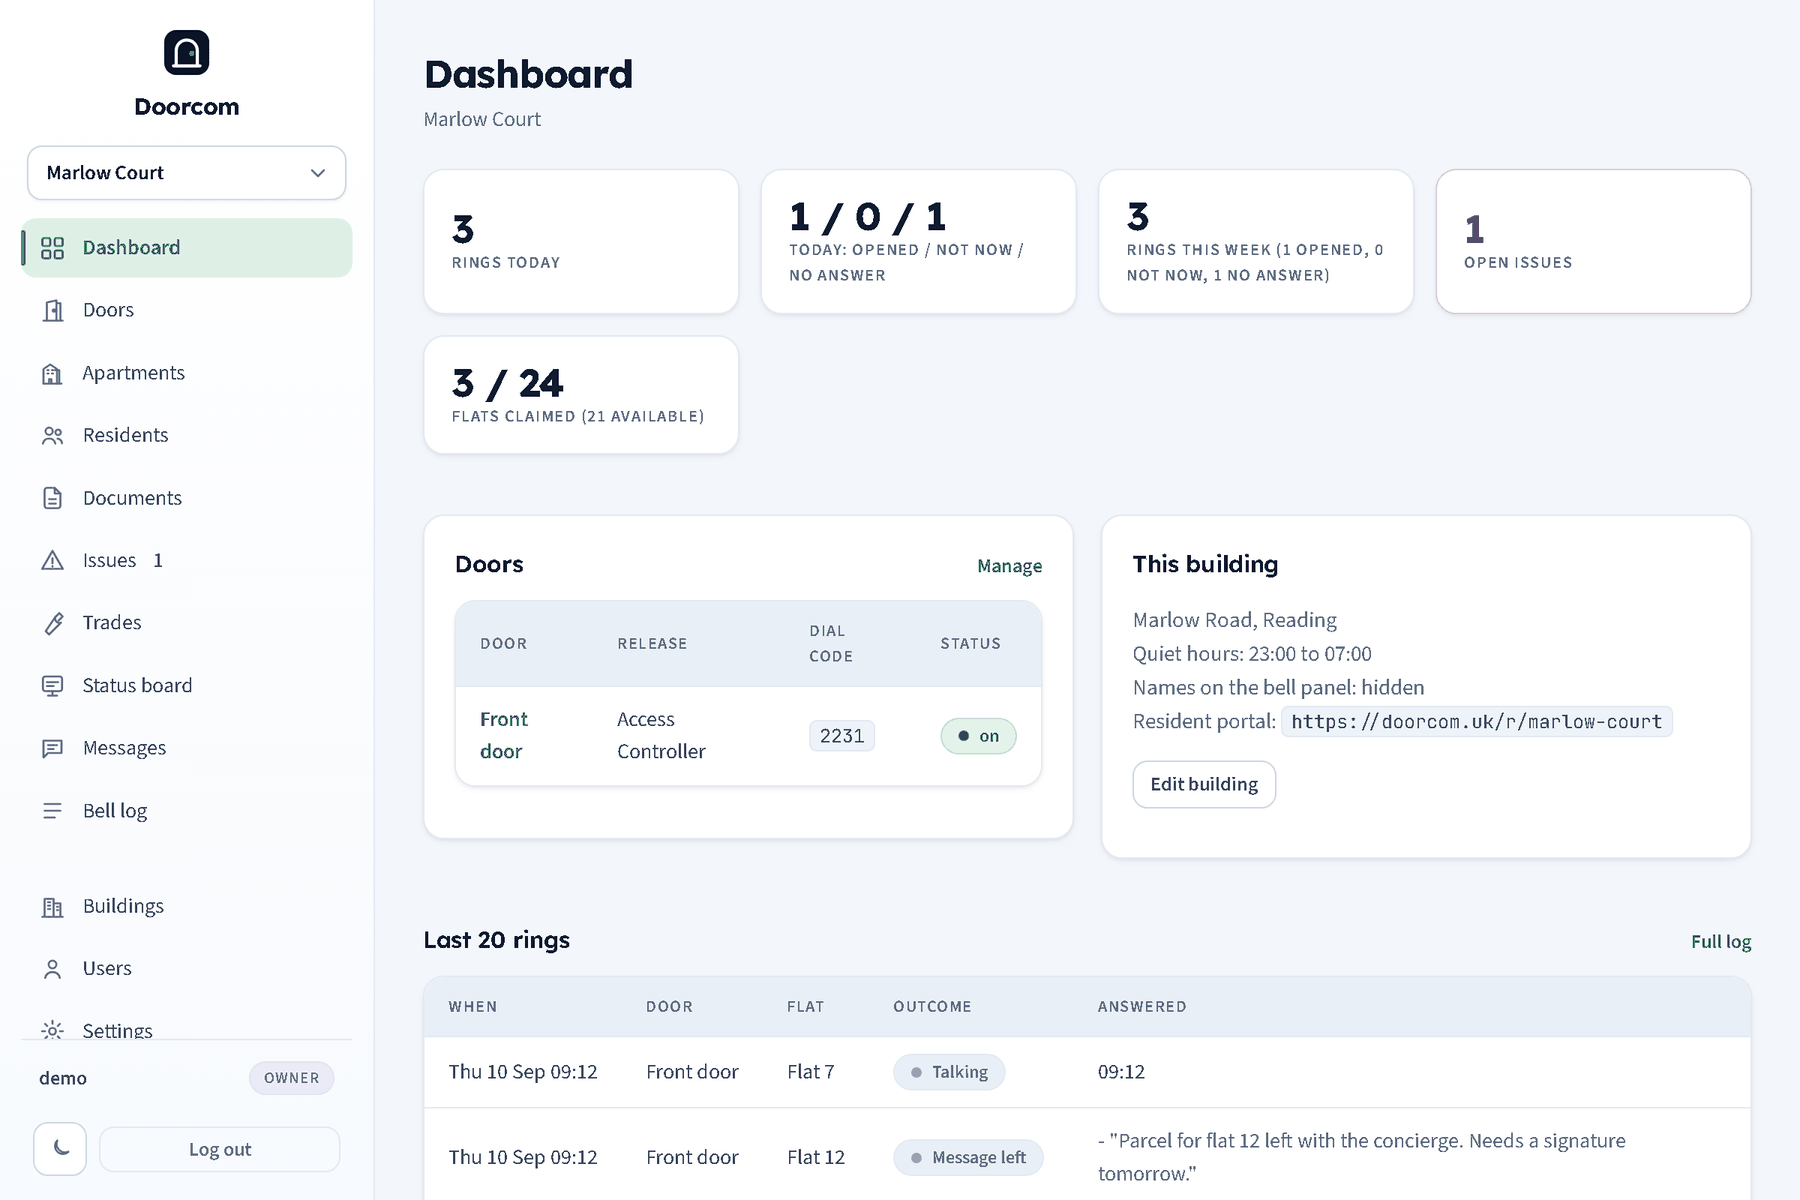
Open /login, enter the username and password. The dashboard opens. On a fresh install it says there is no building yet and offers to create one.
Create the building
Go to Buildings (owners only) and add a name and a slug. The slug is the short name in the resident portal's address, /r/<slug>, so keep it simple: marlow-court. The building's page then asks for:
- Address, landlord, phone line
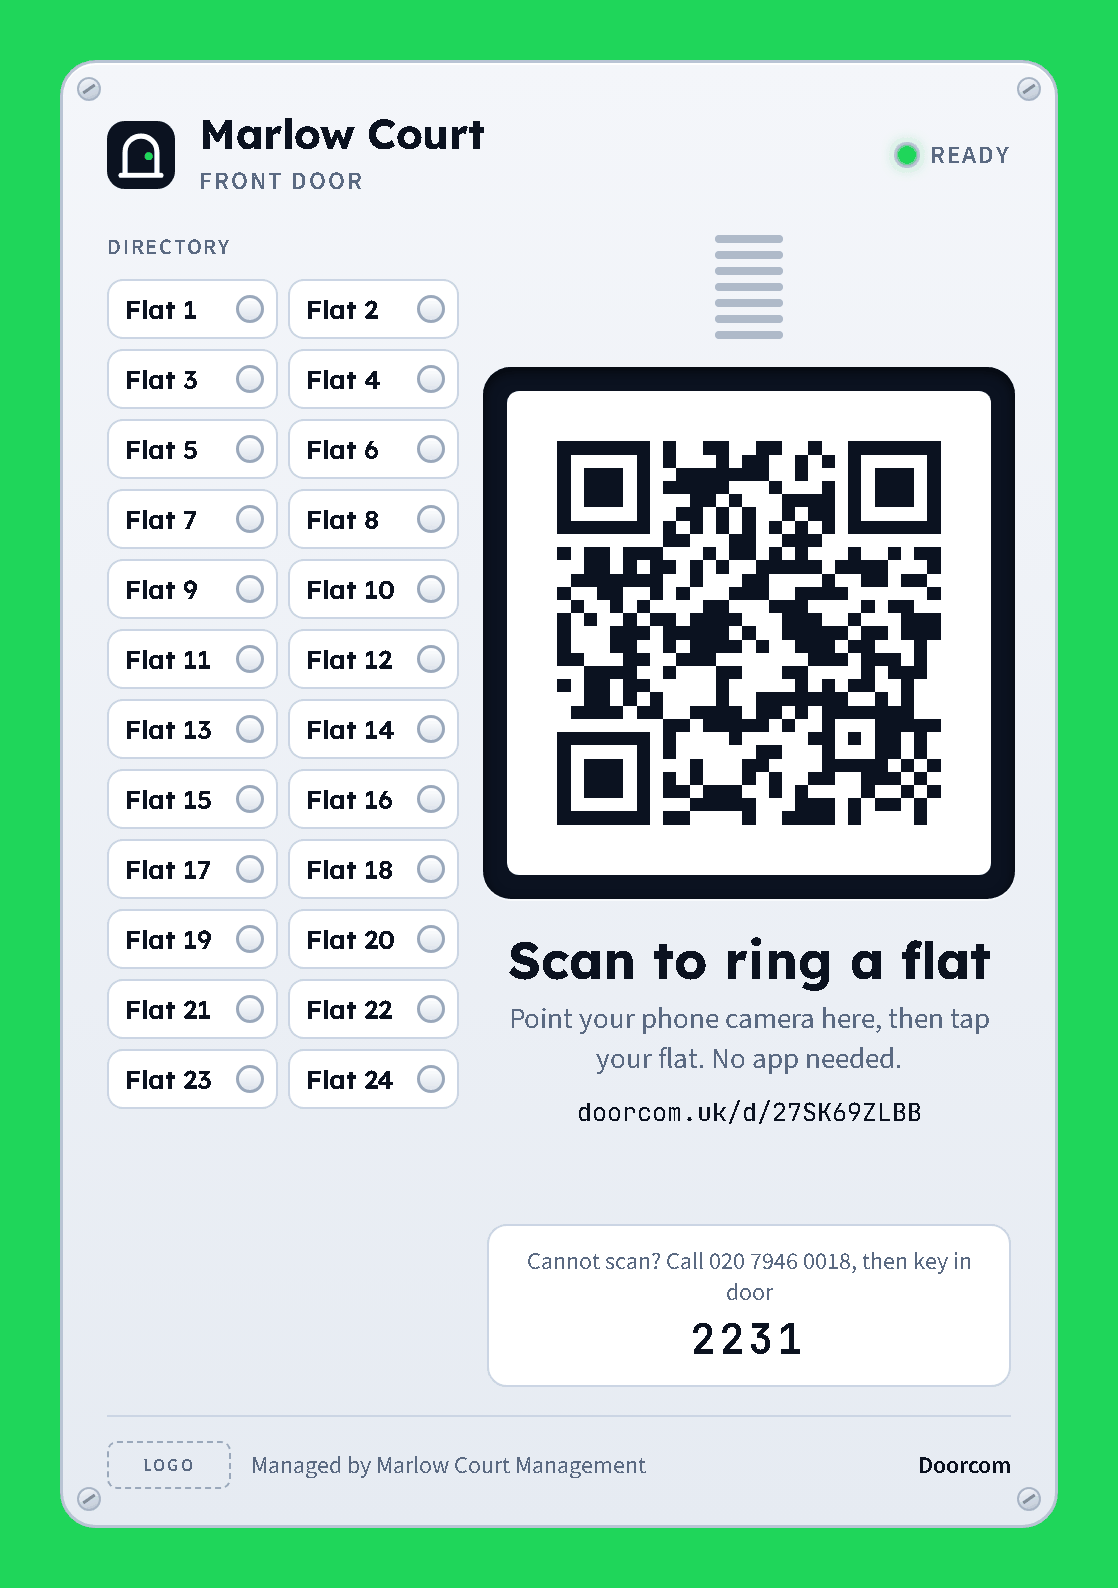
- The landlord name is printed as "Managed by" on the poster; the phone line is printed as "Cannot scan? Call ...". Until they are filled in the poster shows placeholders.
- Timezone, quiet hours
- Quiet hours are a start and end time in the building's own timezone, and may cross midnight (23:00 to 07:00).
- Show names on the bell panel
- Off by default. When on, the bell grid shows residents' names under the flat number.
- Latitude and longitude
- Used only to work out sunset, so the bell page can switch to its dark theme at night. Blank means the middle of England.
- Logo and accent colour
- The logo goes on the poster and in the panel sidebar; the accent recolours the panel's buttons for that building.
Add a door
Go to Doors, type a name ("Front door") and add it. On the door's page set the dial code (four to six digits, unique across the service) and the release mode. Ring only is fine to start with; the Access Controller fields are explained in Buildings and doors. Save.
Add the flats
Go to Apartments and type the numbers in one go: 1-24, A1-A6, or a comma list. Ranges keep their prefix and zero padding. Flats that already exist are skipped. If the building has floors, use "Set a floor" to name a range: 1-8 is "Ground floor". Floors are what Messages uses to reach one floor at a time.
Put the poster on the door
Back on the door's page, choose Poster. It opens as a page that prints as exactly one A5 sheet (or A4 with the link at the top). Set the printer to the right paper size, no margins, 100% scale. Put the poster where the entry panel would be, behind glass or in a frame. There is also a 100 mm sticker for a glass door. See Posters, stickers and claim cards.
Then sign residents up
Nothing rings until a flat has a resident. From Apartments, each row has Sign up a tenant, which opens the on-screen dialog, and Claim card, which prints one. That is Signing residents up.
Try it yourself before the first tenant: scan the poster with your own phone, tap a flat that you have signed up, and answer the call. The dashboard's last rings table and the bell log show what happened.